マスターデータを用いた OCR(完全一致)
サンプルコード
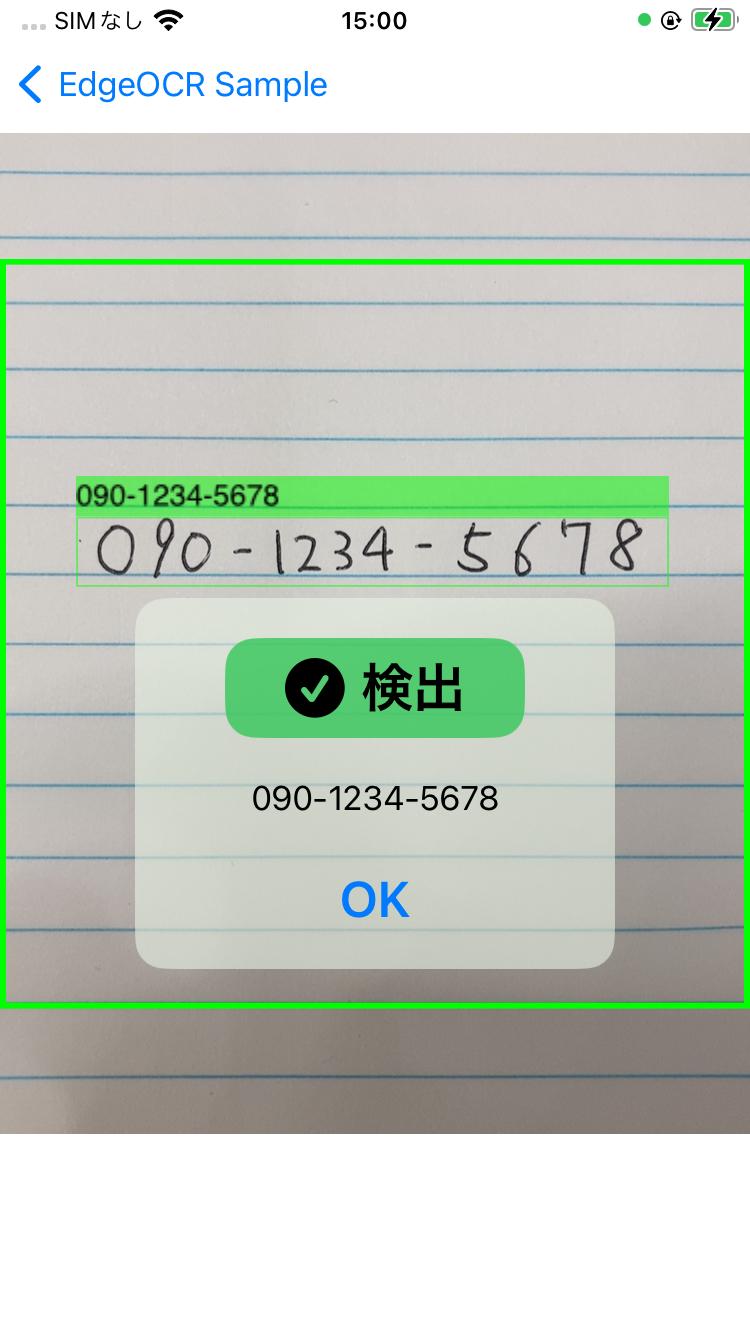
OCR 結果がマスターデータ(ホワイトリスト)に含まれているかどうかを判定し、一致した場合にハイライト表示やダイアログ表示を行う方法を説明します。
Analyzer の実装
検出結果とマスターデータを比較する Analyzer クラスを実装します。マスターデータに含まれるテキストと含まれないテキストを分類します。
- iOS (Swift)
- Android (Java)
class WhiteListAnalyzer {
    let whiteList: Set = [
        "090-1234-5678",
        "090-0000-1234",
        "090-2222-3456",
        "090-4444-5555",
        "090-6666-7777",
        "090-8888-9999",
    ]

    func analyze(_ detections: [Text]) -> AnalyzerResult {
        var targetDetections: [Text] = []
        var notTargetDetections: [Text] = []

        for detection in detections {
            let text = detection.getText()
            if whiteList.contains(text) {
                targetDetections.append(detection)
            } else {
                notTargetDetections.append(detection)
            }
        }

        return AnalyzerResult(
            targetDetections: targetDetections,
            notTargetDetections: notTargetDetections)
    }
}
同様に Set を使ってマスターデータとの完全一致を判定します。
public class WhiteListAnalyzer {
    private final Set<String> whiteList = new HashSet<>(Arrays.asList(
        "090-1234-5678",
        "090-0000-1234",
        "090-2222-3456",
        "090-4444-5555",
        "090-6666-7777",
        "090-8888-9999"
    ));

    public AnalyzerResult analyze(List<Text> detections) {
        List<Text> targetDetections = new ArrayList<>();
        List<Text> notTargetDetections = new ArrayList<>();

        for (Text detection : detections) {
            String text = detection.getText();
            if (whiteList.contains(text)) {
                targetDetections.add(detection);
            } else {
                notTargetDetections.add(detection);
            }
        }

        return new AnalyzerResult(targetDetections, notTargetDetections);
    }
}
検出結果の表示
マスターデータに含まれるテキストは緑色、含まれないテキストは赤色で表示します。
- iOS (Swift)
- Android (Java)
func drawDetections(result: ScanResult) {
    CATransaction.begin()
    CATransaction.setValue(kCFBooleanTrue, forKey: kCATransactionDisableActions)
    detectionLayer.sublayers = nil

    let detections = result.getTextDetections()
    let analyzerResult = analyzer.analyze(detections)

    for targetDetection in analyzerResult.getTargetDetections() {
        let text = targetDetection.getText()
        let bbox = targetDetection.getBoundingBox()
        drawDetection(bbox: bbox, text: text)  // 緑色(デフォルト)
    }

    for notTargetDetection in analyzerResult.getNotTargetDetections() {
        let text = notTargetDetection.getText()
        let bbox = notTargetDetection.getBoundingBox()
        drawDetection(
            bbox: bbox, text: text,
            boxColor: UIColor.red.withAlphaComponent(0.5).cgColor)
    }

    CATransaction.commit()
}
Android では CameraOverlay を使用する場合、setBoxes に渡す前にフィルタリングを行い、色分け表示を実装します。詳細はサンプルアプリを参照してください。